Join on WhatsApp
Get the latest updates directly on WhatsApp – motivation, news & more!
 Join On WhatsApp
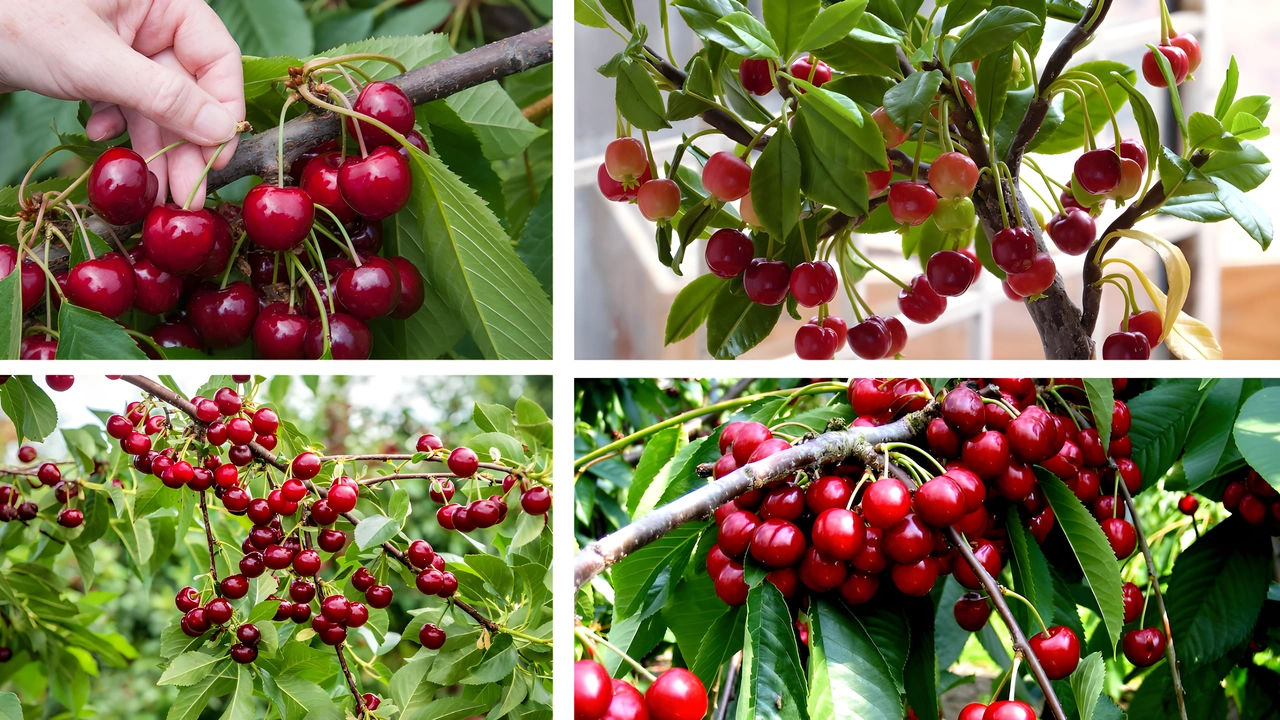
Growing your own cherry tree from scratch can be one of the most rewarding gardening projects. Whether you start from seed or a young sapling, the process connects you to nature in a deeply satisfying way while also giving you a beautiful fruit-bearing tree right in your own backyard. This DIY guide provides a complete, step-by-step overview of how to grow your own cherry tree, tailored for home gardeners of all experience levels. From seed preparation to selecting the right location, and from planting to harvesting cherries, this article will walk you through the essentials of starting fruit trees—specifically cherry trees—from scratch.

By following this DIY cherry tree project guide, you’ll not only cultivate your own fresh cherries, but also learn to appreciate the patience, care, and precision it takes to grow fruit trees successfully. Whether you’re planting one tree or dreaming of a mini orchard, growing your own cherry tree is a great way to build your garden—and your gardening confidence—from the ground up.
Why Grow Your Own Cherry Tree at Home?
Choosing to grow your own cherry tree is more than just a gardening experiment—it’s an investment in your future. Freshly picked cherries taste far superior to store-bought ones, and homegrown fruit trees often adapt better to your local climate. Not only do cherry trees provide delicious fruit, but they also offer beautiful springtime blossoms that enhance the beauty of any yard.
This DIY cherry tree project gives you the satisfaction of nurturing life from seed or sapling to full-grown fruit tree. Plus, growing your own cherry tree allows you to control the use of pesticides and fertilizers, making the harvest safer and more organic.
Whether you’re starting fruit trees from scratch or expanding your garden with more sustainable methods, cherry trees offer both aesthetic and edible rewards.
Choosing Between Seeds and Saplings to Start Your Cherry Tree
In any DIY cherry tree project, one of the first decisions is whether to start your cherry tree from seed or sapling. Both methods have benefits and challenges when it comes to starting fruit trees from scratch.
| Method | Time to Fruit | Success Rate | Effort Level | Best For |
|---|---|---|---|---|
| From Seed | 7–10 years | Medium | High | Hobbyists, experimental gardeners |
| From Sapling | 3–5 years | High | Moderate | Beginners, faster results seekers |
Starting from seed involves germinating cherry pits, which can take months and requires patience. However, it’s incredibly rewarding and ideal if you enjoy the entire process of growing your own cherry tree from the very beginning.
Starting from a sapling is a more reliable and faster method, perfect for those who want to enjoy cherries sooner. Saplings are often grafted onto hardy rootstock, ensuring healthier and more productive trees.
Whichever path you choose, this step-by-step DIY guide ensures that your cherry tree project will have the best start.
Step 1: Preparing Cherry Seeds for a DIY Tree Project
If you’re truly starting fruit trees from scratch, preparing cherry seeds is your first big step. Fresh cherry pits must be cleaned and cold-stratified to mimic winter dormancy.
DIY Seed Preparation Steps:
- Clean the Seeds – Remove all fruit flesh and rinse the pit thoroughly.
- Dry the Seeds – Let the pits dry for 3–5 days in a shaded area.
- Cold Stratification – Place the seeds in a sealed plastic bag with moist peat moss or sand, then refrigerate for 10–12 weeks.
- Check for Sprouting – After stratification, monitor the seeds. If any crack open or begin sprouting, they’re ready to plant.
Starting your DIY cherry tree from seed is time-consuming but aligns perfectly with those who love nurturing plants from the very beginning. It’s the purest form of starting fruit trees from scratch.
Step 2: Planting Cherry Seeds or Saplings in the Right Location
Whether you’ve chosen seeds or a sapling, planting your cherry tree in the right location is key. Your DIY cherry tree project will thrive in areas with good sun exposure, drainage, and air circulation.
Tips for Planting Success:
- Full Sunlight – Cherry trees need at least 6–8 hours of direct sunlight daily.
- Soil Type – Well-draining, loamy soil with a pH of 6.0–7.5 is ideal.
- Spacing – Allow 20–25 feet between standard cherry trees; 10–15 feet for dwarf varieties.
- Planting Depth – For saplings, ensure the graft union (if present) is 2 inches above the soil. For seeds, plant about 1 inch deep.
This step of your DIY cherry tree project is critical—poor location choices can hinder growth, flowering, and fruit production. Consider your space carefully when starting fruit trees from scratch.
Step 3: Watering and Fertilizing Cherry Trees for Healthy Growth
Once planted, your cherry tree needs consistent watering and the right nutrients to grow strong. Whether you’re growing your own cherry tree from seed or sapling, this step determines early success.
Watering Guidelines:
- Water weekly during dry spells, especially in the first two years.
- Ensure deep watering to encourage root development.
- Avoid overwatering, which can lead to root rot.
Fertilizing Tips:
- Use a balanced fertilizer (10-10-10) in early spring.
- Avoid fertilizing in late summer, as it may encourage new growth prone to frost damage.
- Mulch around the base to retain moisture and suppress weeds.
Proper watering and fertilizing are essential components of any DIY cherry tree project. These habits ensure the fruit trees you’re starting from scratch will thrive through each season.
Step 4: Pruning and Shaping Your Cherry Tree Over Time
Every cherry tree—especially one grown in a home garden—needs regular pruning. As part of your DIY cherry tree project, pruning shapes the tree, boosts airflow, and improves fruit yield.
Pruning Tips:
- Time It Right – Prune in late winter or early spring before buds swell.
- Remove Suckers – These are weak, non-productive shoots at the tree’s base.
- Thin Interior Branches – This improves air circulation and sunlight exposure.
- Shape the Canopy – Maintain an open, vase-like structure.
Learning to prune properly is essential when growing your own cherry tree. Even when starting fruit trees from scratch, consistent shaping helps maximize health and harvest potential.
Step 5: Protecting Your DIY Cherry Tree from Pests and Disease
No matter how carefully you plan your DIY cherry tree project, pests and diseases are inevitable challenges. Fortunately, preventative care and early treatment can keep your fruit trees healthy.
Common Issues and Fixes:
| Problem | Symptom | Solution |
|---|---|---|
| Aphids | Curling leaves | Neem oil or insecticidal soap |
| Cherry Fruit Fly | Maggots inside fruit | Sticky traps or targeted organic insecticide |
| Fungal Leaf Spot | Yellowing and speckled leaves | Prune infected areas and use copper fungicide |
| Birds and Wildlife | Fruit loss | Netting or decoy deterrents |
Staying vigilant and proactive is a crucial part of growing your own cherry tree. Every fruit tree started from scratch needs a little extra care to stay strong against natural threats.
Step 6: When and How to Harvest Cherries from Your Own Tree
The ultimate reward of your DIY cherry tree project comes when the tree begins to bear fruit. Knowing when and how to harvest is essential for getting the most out of your cherry tree.
Harvesting Guidelines:
- Cherries are ready when they’re fully colored, plump, and slightly soft.
- Harvest gently by hand—don’t tug or tear branches.
- Use a small basket or soft container to avoid bruising.
- For trees grown from seed, remember that the fruit may not match the parent variety.
This moment makes all the patience and effort of starting fruit trees from scratch worthwhile. It marks the culmination of your hard work in growing your own cherry tree.
DIY Cherry Tree Project Timeline: From Seed to Fruit
Here’s a helpful table summarizing the stages of a DIY cherry tree project when starting fruit trees from scratch:
| Stage | Time Frame | Action Required |
|---|---|---|
| Seed Collection & Prep | 1 week | Clean, dry, and refrigerate seeds |
| Cold Stratification | 10–12 weeks | Refrigerate seeds in moist medium |
| Germination | 1–2 weeks (post strat.) | Transfer to pots or seed trays |
| Seedling Growth | 1–2 years | Indoor or greenhouse care |
| Transplanting Outdoors | After 2 years | Full-sun location and nutrient-rich soil |
| Maturity & Fruit Bearing | 5–10 years | Annual pruning, watering, fertilizing |
| First Harvest | 5–10 years | Pick when ripe and enjoy your own cherries! |
Grow Your Own Cherry Tree and Reap the Sweet Rewards of a DIY Fruit Tree Project
Whether you choose to start from seed or