Join on WhatsApp
Get the latest updates directly on WhatsApp – motivation, news & more!
 Join On WhatsApp
Orchids are among the most beautiful and exotic plants that can be grown indoors, offering a unique charm with their intricate blooms and graceful structure. For those wondering how to grow and care for orchid plants at home, this complete step-by-step guide for beginners provides everything needed to cultivate vibrant, lush, and long-lasting blooms. While orchids may seem delicate and complex, with the right care and conditions, even novice gardeners can enjoy their beauty year-round. From choosing the right species to mastering watering techniques, this comprehensive guide will help you transform your home into a blooming orchid haven.

1. Understanding Orchid Plants for Home Growing
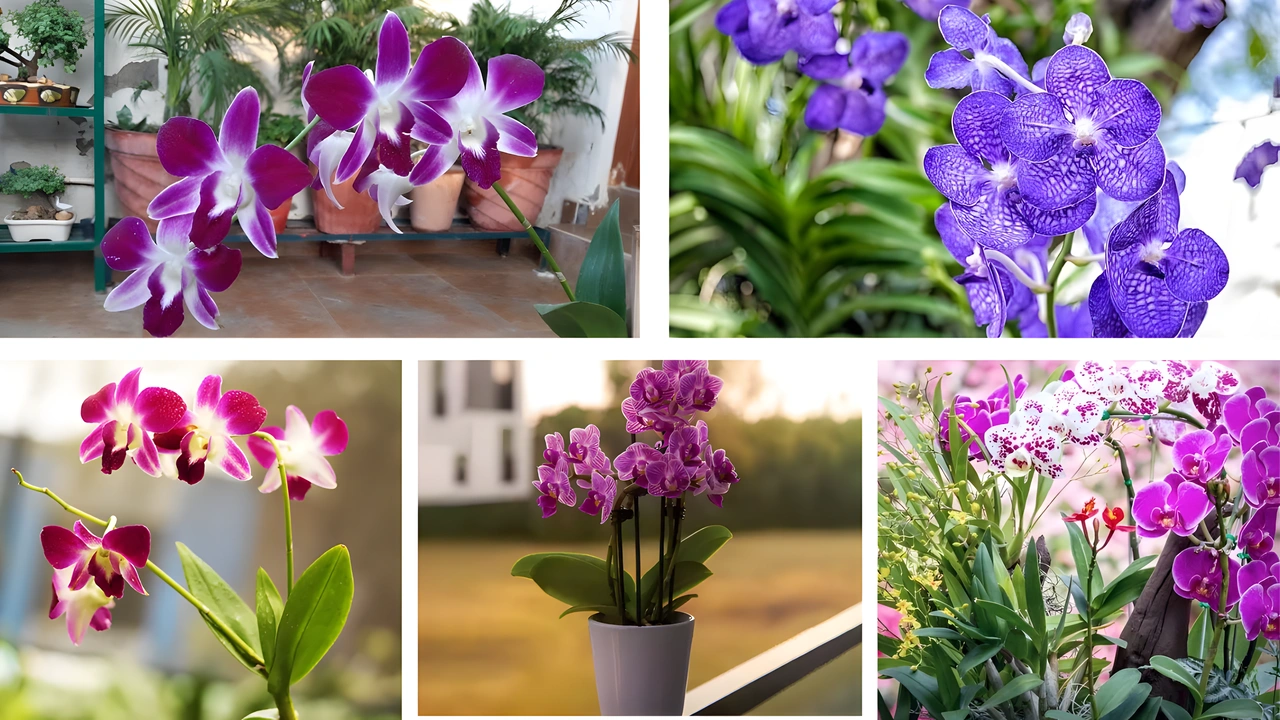
To successfully grow and care for orchid plants at home, it’s essential first to understand what orchids need to thrive. Orchids belong to one of the largest plant families in the world, Orchidaceae, and come in over 25,000 species. Not all orchid plants are suitable for home growing, so beginners should start with easy-to-grow varieties like Phalaenopsis (moth orchids), Dendrobium, or Cattleya. These orchid plants are forgiving and adapt well to indoor environments.
What sets orchids apart from other houseplants is their root system. Unlike traditional soil-rooted plants, orchids often grow on bark or moss and use their roots to absorb moisture and nutrients from the air. Understanding this is crucial to growing and caring for orchid plants at home successfully.
2. Choosing the Right Environment to Grow Orchid Plants at Home
Creating the ideal environment is a critical step in how to grow and care for orchid plants at home. Orchids thrive in conditions that mimic their native tropical habitats: warm temperatures, high humidity, and filtered light.
Here’s a breakdown of ideal indoor conditions for orchid plants:
| Environmental Factor | Ideal Condition for Orchids at Home |
|---|---|
| Light | Bright, indirect sunlight (east or south-facing windows) |
| Temperature | 65°F to 75°F during the day, 60°F at night |
| Humidity | 50% to 70% relative humidity |
| Air Circulation | Good airflow, especially around roots |
| Potting Medium | Bark, sphagnum moss, perlite, or a mix |
Placing orchid plants near a window with sheer curtains or using artificial grow lights ensures they get enough light without scorching their leaves. Humidity trays, room humidifiers, or even misting can help achieve the right moisture level in the air.
3. Selecting the Best Potting Mix and Container for Orchid Plants
When learning how to grow and care for orchid plants at home, beginners often make the mistake of planting orchids in regular potting soil. However, orchid roots need excellent drainage and air circulation, which is why a special orchid mix is used. These mixes typically include bark, perlite, charcoal, or coconut husk chips.
Choose a container with plenty of drainage holes. Clear plastic pots are ideal for beginners because they allow monitoring of root health and moisture levels. Ensure the pot is not too large, as orchids prefer snug spaces that mimic their natural growing conditions on trees and rocks.
4. Watering Techniques: Key to Care for Orchid Plants at Home
Watering is one of the most important—and often misunderstood—steps in learning how to grow and care for orchid plants at home. Overwatering is a common mistake that can lead to root rot, the primary cause of orchid decline.

Here’s how to water orchid plants properly at home:
- Water early in the morning to allow moisture to evaporate during the day.
- Use lukewarm, distilled, or rainwater for best results.
- Let the potting medium dry out slightly between waterings.
- Check root color: healthy roots are green or silver; mushy brown roots indicate overwatering.
- Avoid letting water sit at the base of leaves or in the crown.
A good rule of thumb is to water orchids once a week, but this can vary based on temperature, humidity, and potting medium. Remember, when in doubt, it’s better to under-water than over-water.
5. Feeding and Fertilizing to Achieve Lush, Long-Lasting Blooms
Orchid plants require proper nutrition to produce lush and long-lasting blooms. To grow and care for orchid plants at home effectively, using a balanced orchid fertilizer is essential. Look for a formula with equal parts nitrogen, phosphorus, and potassium (e.g., 20-20-20).
Fertilizing guidelines for orchid plants:
- Fertilize every two weeks during active growing periods (spring and summer).
- Reduce feeding to once a month during dormancy (fall and winter).
- Use half-strength fertilizer to avoid burning sensitive roots.
- Flush the potting mix with clean water once a month to prevent salt buildup.
With regular feeding, orchid plants will reward your care with stronger roots and more frequent blooming cycles.
6. Pruning and Repotting: Maintaining Healthy Orchid Plants at Home
Maintaining healthy orchid plants also involves timely pruning and repotting. These are essential parts of how to grow and care for orchid plants at home, ensuring the plant’s long-term vitality.
Pruning Tips:
- Remove dead or yellowing leaves and spent flower spikes using sterilized scissors.
- If the spike is still green, you can cut above a node to encourage a second bloom.
Repotting Guidelines:
- Repot every 1–2 years, ideally after flowering.
- Use fresh orchid potting mix to refresh nutrients and prevent disease.
- Choose a pot just slightly larger than the root ball to maintain a snug fit.
Repotting not only gives your orchid a fresh start but also prevents root crowding and promotes new growth.

7. Common Problems and How Beginners Can Overcome Them at Home
Even with the best intentions, beginners may encounter issues while trying to grow and care for orchid plants at home. Recognizing problems early is the key to fixing them before they become severe.
Common Issues:
- Yellow Leaves: May result from overwatering or too much direct sunlight.
- Wrinkled Leaves: Often a sign of underwatering or root rot.
- No Blooms: Could be due to insufficient light or a lack of feeding.
- Sticky Leaves or Spots: Possible sign of pests like aphids or scale insects.
Solutions include adjusting your watering routine, changing the plant’s location, cleaning the leaves with neem oil, and isolating infected plants. Keeping a routine care checklist can help beginners avoid these pitfalls and stay on top of their orchid care.
8. Encouraging Re-Blooming: The Final Step in Growing Orchid Plants at Home
The most rewarding part of learning how to grow and care for orchid plants at home is getting them to bloom again. After the initial flowers fade, many beginners worry that the plant is dying. However, orchids naturally go into a resting phase before blooming again.
To encourage re-blooming:
- Provide a slight temperature drop at night (about 10°F cooler than the day).
- Maintain consistent light and humidity.
- Don’t cut green flower spikes unless they turn brown.
- Continue watering and feeding as usual during rest periods.
With patience and proper care, your orchid plant will reward you with lush, long-lasting blooms season after season.
Conclusion: Achieve Lush, Long-Lasting Blooms by Learning How to Grow and Care for Orchid Plants at Home
Growing and caring for orchid plants at home is a rewarding journey that transforms your indoor space with elegance and natural beauty. By following this complete step-by-step guide for beginners, you can cultivate healthy orchid plants that reward you with lush, long-lasting blooms year after year. Understanding their unique needs—from potting mix and light to watering and feeding—gives you the tools to overcome challenges and become a confident orchid grower. Whether you’re just starting or expanding your indoor garden, orchid plants can bring joy, serenity, and color into your life with just a bit of care and commitment.